To import a data file into Micronet, you need to specify the Micronet master file you want data imported into, the file containing the data you want to import, and the details you want imported from that file.
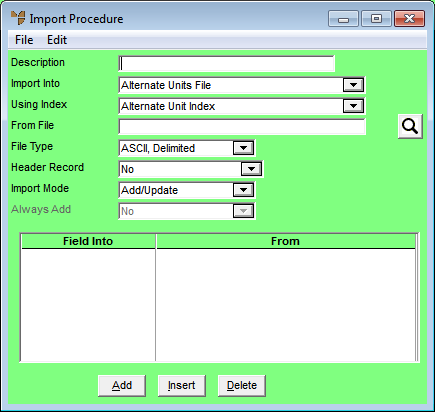
Micrconet displays the Import Procedure screen.
|
|
Field |
Value |
|
|
Description |
Enter the description of the import template file you want to create. Micronet stores this template for any future importing that may be required from the same data file. |
|
|
Import Into |
Select the Micronet master file you want to import your data into. |
|
|
Using Index |
Select the index you want Micronet to use. |
|
|
From File |
Enter or select the file you want to import from. Select the folder button to display the standard windows Open window so you can locate your file. Select the magnifier button to display the document you have located in Notepad for a last check. |
|
|
File Type |
Select the type of file you want to import. Options are:
|
|
|
Header Record |
2.8 Feature Select one of the following options:
|
|
|
Import Mode |
Select the update method for the data you are importing into the Micronet database. Options are:
|
| Always Add |
|
|

|
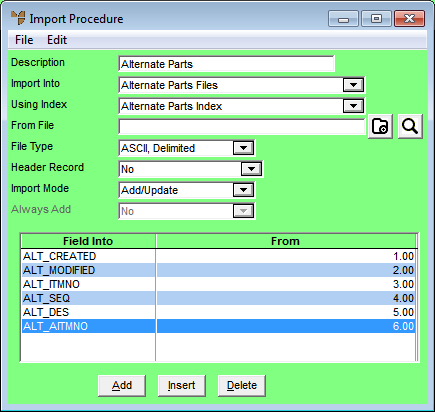
Technical Tip There are some mandatory fields you need to include in the import procedure for the Inventory master file and the Debtors master file. For more information, refer to "Mandatory Fields". |
When you have finished, Micronet displays the fields to be imported at the bottom of the Import Procedure screen.
|
|
|
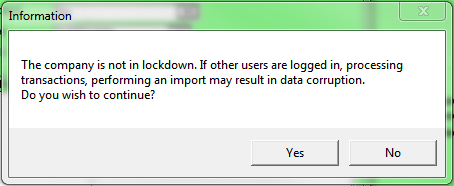
Technical Tip 2.8 Feature Micronet checks whether the company lockdown flag is set (for more information, refer to "Edit Company - Edit - Company Lockdown (v2.8)"). If the company is not locked down, Micronet displays the following message:
You should only select Yes if you are absolutely certain the import will not corrupt your data. If in doubt, contact the Micronet Service Desk. If you select Yes, the action, date and time will be logged in the Micronet.log file. Note that this message is not displayed when the import is run automatically through a batch file as a scheduled task. |
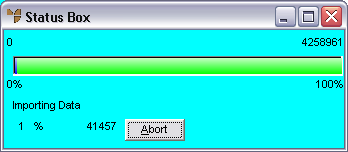
Micronet imports the data from the import file into the Micronet data file.
Micronet logs the import procedure in the micronet.log file and makes a backup copy of the original data file. The name and path of this backup file are written to the micronet.log file.